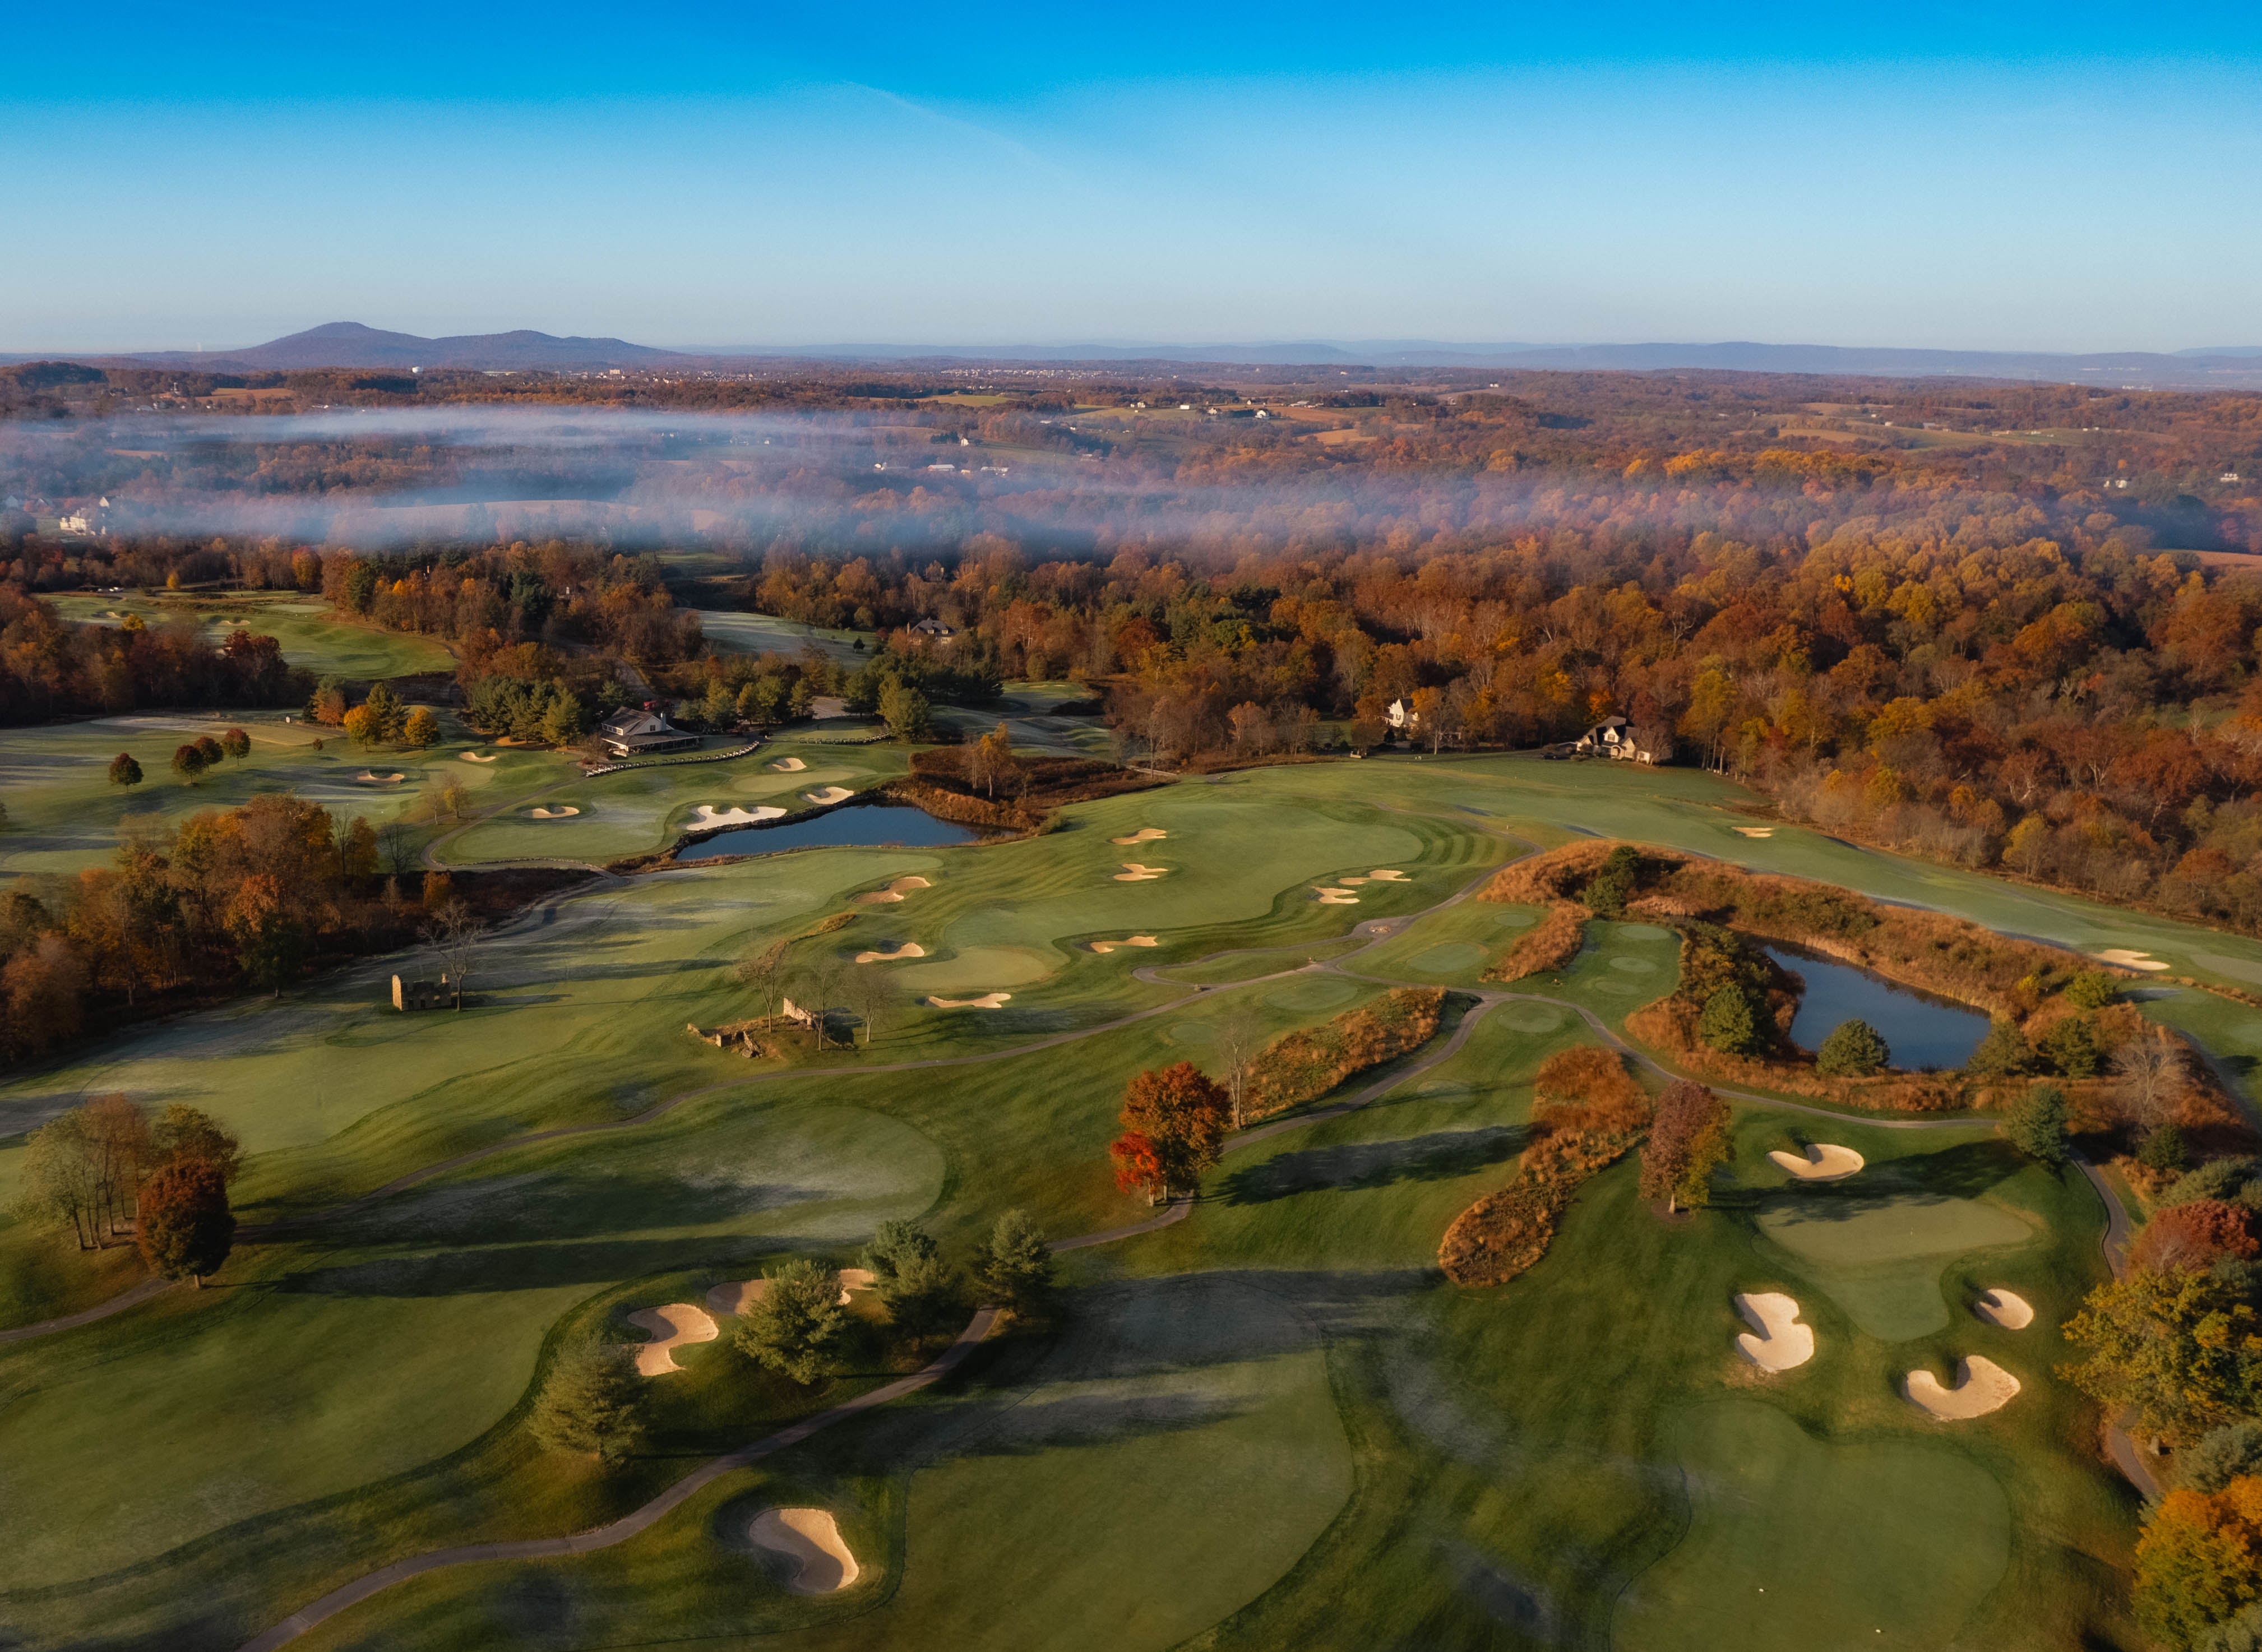
Hole #10 par 4
Hole 10 offers a fair but strategic opening to the back nine, setting the tone for what’s to come. The tee shot can be safely played to a generous landing area to the right of a well-placed fairway bunker, leaving most players with a mid-iron approach into a well-defended green. Bolder players who challenge or carry the bunker are rewarded with a shorter approach and a better angle into the green. The green itself is surrounded by gentle slopes on both sides, meaning a slightly off-line shot may still catch a friendly bounce onto the putting surface. A solid game plan and confident execution here can provide momentum heading into the demanding stretch ahead.

Hole #11 par 3
Hole 11 is a spectacular par 3 that blends scenic beauty with strategic challenge. The narrow green, subtly angled from left to right, is well-defended by two bunkers and framed by a striking rock wall that runs along the entire 30-yard green, creating a dramatic runoff area. Adding to the challenge, the green slopes from left to right, leaving very little margin for error. The only safe miss is short of the green, where the approach area offers the best chance for recovery. This deceptively simple hole demands a precise and well-executed tee shot—a true test of control, especially under pressure.
Hole #12 par 4
Hole 12 is the longest and most demanding par 4 at Whiskey Creek—and one of the toughest holes on the course. Designed to test every part of a player’s game, it features a forced carry off the tee, out of bounds on both sides, and a second forced carry on the approach. Precision off the tee is essential. Finding the fairway is a must to have any chance at reaching the green in regulation. A well-struck drive that reaches the downslope can gain as much as 30 extra yards, offering a critical advantage. Miss that slope, and you’re left with a lengthy second shot into a green guarded by two large bunkers on the left. Ranked as the #2 handicap hole, this is a par 4 where bogey is never a bad result. Strategy, execution, and composure are all required to survive this challenge.
Hole #13 par 4
Hole 13 is yet another formidable par 4 that demands both strategy and execution. Playing slightly uphill, the hole plays longer than the scorecard suggests, especially into the prevailing wind. From the tee, players face a challenging drive—mounding on the right and a well-placed bunker on the left tighten the landing zone. To gain the ideal angle into the green, players must challenge the left-side bunker, which opens up a clearer path to the flag. Even after a strong tee shot, most players will face a mid-iron approach to an elevated green that slopes sharply from right to left. Two large bunkers guard the right side, while a false front awaits anything short. Finding the green is only part of the battle—its tricky contours make putting a real test. Par here is hard-earned and well-deserved.
Hole #14 par 4
Hole 14 begins with an elevated tee shot that offers more of Whiskey Creek’s stunning views—but don’t get distracted, as this hole demands full focus. The fairway is guarded by trees on the right, a bunker on the left, and a pond that runs the entire length of the hole on the left side. Conservative players can lay up short of the bunker to a generous landing area, though this leaves a long and demanding approach. Aggressive players may take on the narrow landing zone beyond the bunker, setting up a much shorter second shot, but with higher risk. The approach shot is equally exacting, with the green flanked by water on the left, a bunker short, and another bunker long. Every shot on Hole 14 requires deliberate planning and precise execution—there’s little room for error.
Hole #15 par 3
Hole 15 is the longest par 3 at Whiskey Creek—and the only one featuring water. With a tee shot that plays almost entirely over the pond, it’s both a visually dramatic and strategically demanding hole. Adding to the ambiance, players may spot Bush Creek—once used to transport alcohol during Prohibition and the namesake of Whiskey Creek—flowing to the left of the tee near the train tracks during certain times of the year when there is minimal foliage. Pin location is critical on this hole. A left pin can play 10–15 yards shorter than a pin on the right, so club selection is key. The green is well-protected with two bunkers short and one behind, but a safe bailout area left of the green gives players a reasonable miss option. While intimidating from the tee, Hole 15 rewards thoughtful planning and confident execution.
Hole #16 par 5
Hole #16 is a relatively straight par 5 with elevated green that is visible from the tees. The tee shot is protected by fairway bunkers on the right and left. However, the bunker on the left can be carried by most players. The left side of the fairway also has a large slope that will help direct errand tee shots back into the fairway. Reaching the green in two is a rare feat, so a well-placed layup is crucial. A smart second shot sets up a short approach into a raised green guarded by several deep bunkers, demanding precision on the final shot. Keep it straight and steer clear of the sand, and Hole 16 offers a solid chance to pick up a shot with smart, steady play.
Hole #17 par 4
Hole 17 offers a generous landing area off the tee, giving players a chance to set up for one of the most demanding approach shots on the course. A large, deep bunker guards the right side of the fairway—only the longest hitters can consider carrying it, so most players should aim left or lay up short of the fairway bunker. The second shot is what truly defines this hole: an uphill approach to a two-tiered green that requires absolute precision. A back pin location makes for one of the toughest targets on the course. The green is well-defended by two deep bunkers on the left, a rear bunker on the right, and a false front that repels anything short. Success on Hole 17 depends entirely on a well-executed approach—anything less risks a difficult recovery or worse.

Hole #18 par 5
Similar to hole #9, the 18th hole is the 2nd par 5 that sweeps back down to the clubhouse. The finishing hole at Whiskey Creek is possibly one of the most dramatic and unique finishing holes in the Mid-Atlantic. A 19th-century stone house, a relic from Prohibition days when it was used to transport whiskey, stands boldly in the middle of the fairway, turning this hole into both a historical landmark and a strategic chess match. Aggressive players can aim left of the ruins to set up a potential shot at the green in two. Conservative players may opt for the right side, avoiding risk but adding a bit more work for the second or third shot. No matter the route, players must eventually navigate a small pond fronting the green. The putting surface is guarded by two bunkers short and one long, demanding careful club selection and strategy. Hole 18 is a memorable finish, blending beauty, history, and challenge—leaving players with one last thrilling opportunity to score.
| HOLE | PAR | BLACK | BLUE | WHITE | RED |
|---|---|---|---|---|---|
| 10 | 4 | 387 | 364 | 323 | 302 |
| 11 | 3 | 198 | 173 | 141 | 95 |
| 12 | 4 | 445 | 413 | 397 | 373 |
| 13 | 4 | 416 | 398 | 383 | 296 |
| 14 | 4 | 427 | 411 | 382 | 354 |
| 15 | 3 | 222 | 191 | 166 | 119 |
| 16 | 5 | 545 | 516 | 482 | 448 |
| 17 | 4 | 425 | 402 | 387 | 366 |
| 18 | 5 | 547 | 516 | 484 | 455 |
| 36 | 3612 | 3384 | 3145 | 2808 |

