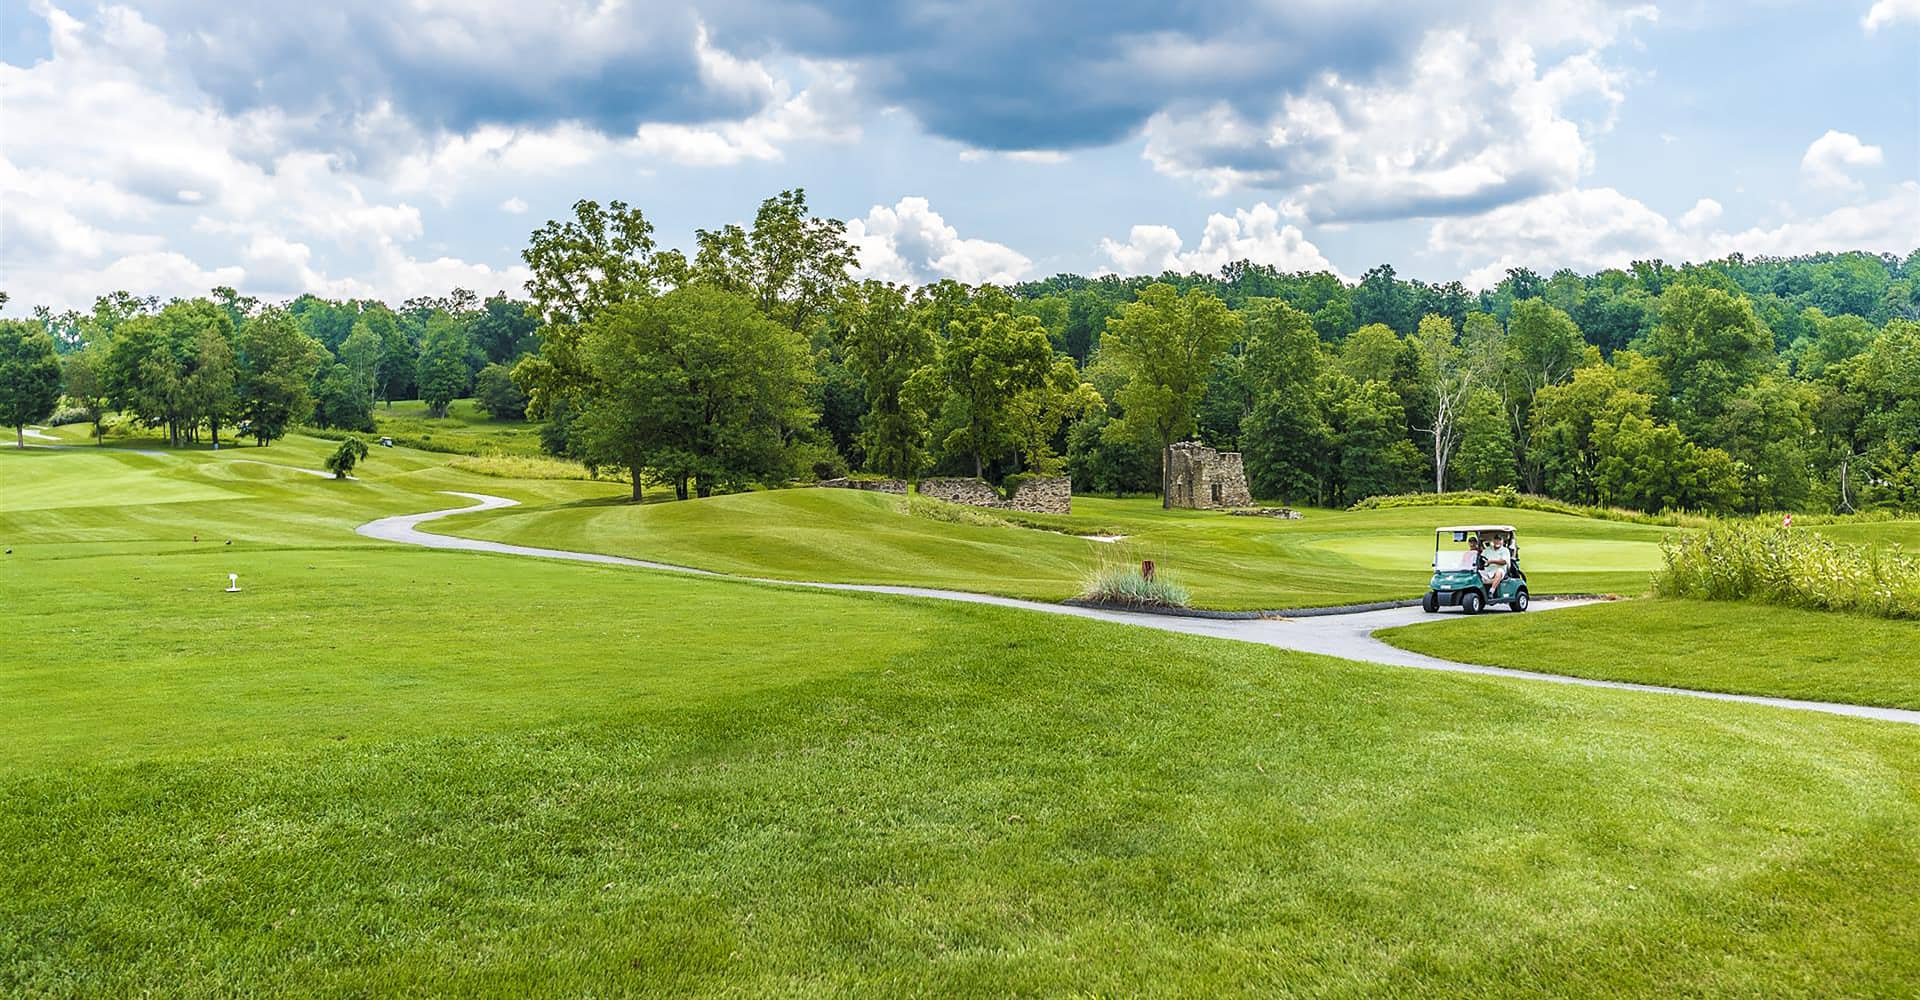
Hole #1 par 4
The opening hole at Whiskey Creek is a relatively short par 4 with a dogleg to the right. Players who can successfully avoid the four fairway bunkers—strategically positioned to challenge both short and long tee shots—will be rewarded with a short iron into the green. As you approach your 2nd shot, the remnants of an 18th-century farmhouse provide a scenic and historic backdrop behind the first green.
Hole #2 par 4
The second hole at Whiskey Creek is a straight, uphill par 4, with two fairway bunkers guarding the left side. A well-placed tee shot sets up a short or mid-iron approach to a narrow green, which is protected by a lengthy greenside bunker on the right. The uphill approach adds to the challenge, as the elevated green is only partially visible from the fairway.

Hole #3 par 3
The third hole at Whiskey Creek is an uphill par 3 that plays significantly longer than the listed yardage. A long bunker runs along the right side of one of the largest greens on the course. Natural rock outcroppings and a solitary tree frame the back of the green, serving as a scenic and strategic aim point for shots to the center of the putting surface. The uphill tee shot, combined with the partially obscured green, makes for a demanding and visually striking hole.

Hole #4 par 5
The fourth hole marks the beginning of a stretch that winds through a beautifully tree-lined section of the property. Surrounded closely by mature trees on both sides, the fourth offers one of the most secluded and serene teeing areas on the course. Although the scorecard yardage may seem manageable, the hole plays significantly longer due to its steady uphill climb, ultimately finishing near the second-highest point on the property. This fair yet demanding par 5 challenges players to execute three well-struck shots to create a true birdie opportunity. Avoiding the strategically placed fairway bunkers is essential for any chance to reach the green in regulation. Upon arrival at the green, players are rewarded with a stunning complex framed by natural rock outcroppings and a sweeping view back toward the tee, making the journey up the fourth hole as memorable as it is demanding.
Hole #5 par 4
Perched at the highest point on the course, the 5th tee box at Whiskey Creek offers breathtaking views of the Catoctin and Blue Ridge Mountain Ranges. From any of the five teeing areas, players are treated to one of the most scenic tee shots in all of Maryland. Framed by natural rock outcroppings, this hole combines beauty with challenge. With over 100 feet of elevation drop, golfers face a strategic choice. Hit less than driver for precise placement or try to hit driver and take on the fairway bunkers guarding both sides. Don’t be deceived by the yardage or the spectacular scenery—Hole 5 is one of the most demanding tests on the course.
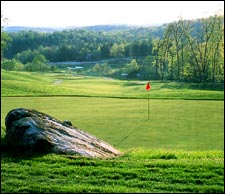
Hole #6 par 4
At first glance, Hole 6 may seem like a breather—it’s the shortest par 4 on the course. But don’t let the yardage fool you. The hole plays uphill, adding hidden difficulty to what appears to be a straightforward challenge. The tee shot is relatively forgiving, though two strategically placed fairway bunkers on the left can be punishing. Players have options off the tee to Lay up safely, or Hit driver and leave just a short approach. The real test lies in the approach shot. Golfers face a completely blind uphill shot to a green that’s both well-guarded by two large bunkers and divided into three distinct sections. Success requires confidence, precision, and course knowledge—this green does not easily yield birdies.

Hole #7 par 3
Hole 7 is the shortest par 3 at Whiskey Creek, but don’t let the scorecard distance fool you—this hole demands precision. The expansive green is well-defended by large bunkers guarding the front and right, making club selection critical. A missed green leaves players with difficult recovery shots from all angles, while those who find the putting surface may still face a challenging two-putt due to the green’s subtle contours and expansive layout. Hitting the correct yardage and landing on the right section of the green can make this hole feel manageable—but a misstep off the tee can turn this short hole into one of your round’s biggest tests.

Hole #8 par 4
Hole 8 is a relatively short par 4 that plays slightly downhill from the tee, offering players a strategic choice. Conservative players can aim right, avoiding the large fairway bunker on the left and taking advantage of a generous landing area. Aggressive players may challenge the bunker, hoping to thread a narrow target and set up a very short approach. The challenge doesn’t end with the drive. The 8th green slopes away from the player, making distance control on the approach shot crucial. Pins tucked on the right side bring added difficulty, requiring a precise shot over a greenside bunker to a surface that slopes from front to back. Smart play and sharp execution are the keys to scoring on this deceptively tricky hole.

Hole #9 par 5
Both the front and back nines at Whiskey Creek conclude with dramatic par 5s that sweep downhill toward the clubhouse—and Hole 9 sets the tone perfectly. This dogleg right offers multiple strategies off the tee. Confident players may attempt to cut the corner to shorten the hole, but doing so brings risk—overcutting can leave a second shot blocked by trees. A well-placed drive to the fairway still leaves a downhill lie, adding complexity to the next shot. Players laying up must navigate a fairway bunker located approximately 100 yards from the green. For those going for it in two, the best miss is to the right, offering a better angle and an easier recovery. The final approach is framed by the clubhouse in the background, making Hole 9 not only a strategic challenge but also a picturesque finish to the front nine.
| HOLE | PAR | BLACK | BLUE | WHITE | RED |
|---|---|---|---|---|---|
| 1 | 4 | 406 | 381 | 328 | 237 |
| 2 | 4 | 390 | 363 | 321 | 281 |
| 3 | 3 | 196 | 169 | 137 | 112 |
| 4 | 5 | 558 | 532 | 486 | 422 |
| 5 | 4 | 402 | 371 | 360 | 351 |
| 6 | 4 | 344 | 323 | 297 | 266 |
| 7 | 3 | 157 | 134 | 108 | 83 |
| 8 | 4 | 391 | 359 | 319 | 300 |
| 9 | 5 | 545 | 509 | 478 | 436 |
| 36 | 3389 | 3141 | 2834 | 2488 |

